Designer Secrets: Choose a Perfect Rug for Your Space
September 24, 2016How to Move Furniture Safely and Easily [Infographic]
September 27, 2016Alright, so maybe it isn’t quite Fall. After all, Starbucks hasn’t even released their pumpkin spice latte! As shameful as it may be to admit, we all know the release date of that blessed drink is our gauge for pulling out plaid and scarves. But just because our cup isn’t flowing with pumpkin lattes, it doesn’t mean that we can’t start the transition into a happy and beautiful fall season.
One of the best ways to do this is with your home décor. Light up the pumpkin candles, break out the zucchini bread, and get started on some DIY projects that will give your home the ultimate feeling of comfy and cozy fall.
Look no further than your living room or entry way for a DIY project that will prep you for cooler weather. See that bench in the corner? When’s the last time you really took a good look at it? Well, a piece as functional and versatile as a bench is deserving of a little more life, don’t you think?
Benches are like the little black dress of furniture; you can dress them up or dress them down based on how you make them over and they pretty much fit every occasion. And with an upholstered bench – well – fasten your seatbelts, because this ride may get a little crazy in the cool department. But don’t sweat it if you don’t have a bench covered in fabric. You can use throw pillows to get a little cushion for those tushes – and what’s more versatile than a throw pillow?
A bench is the perfect setting for putting on shoes on your way out the door or adding additional seating when you need room for more. If you have a bench that gets overlooked, it’s time to take notice and get it ready to turn some heads.
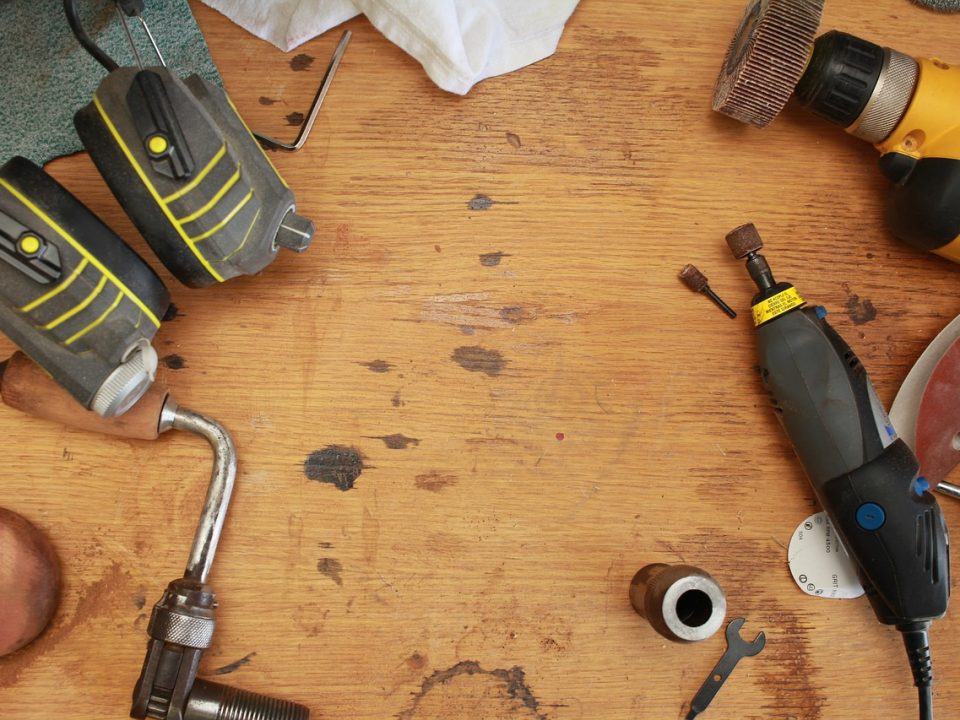
Here’s what you’ll need to get started:
- Bench
- Fine-grain sandpaper
- Small brushes
- Clean cheesecloth
- Paint brush
- Chalk paint
- Wax sealer or polyurethane
- Staple gun (if reupholstering)
- Scissors (if reupholstering)
- Trendy new fabric and/or throw pillows
Step One: Sanding
Before you can do much in the way of making over or painting your bench, there is some prep work to be done. That beautiful piece of furniture is going to need a thorough sanding to get rid of any rough edges. Using either a sanding block or a sheet of sandpaper held just in your hands, gently rub your way through every crevice of the bench. Smooth the surface until you can rub your hand over it without anything catching (gloves may be helpful to prevent blisters).
Step Two: Wipe Down, Dust Off
Using clean cheesecloth, start to wipe down the bench to remove any dust particles left behind from sanding. For hard to reach crevices and decorative detailing, small brushes may be helpful. If you don’t have either, cut up an old tee shirt and use a toothbrush for the odd angles.
Step Three: Paint
Now comes the fun part. Hopefully, you didn’t rush through the other two steps. It can be incredibly tempting to skip the prep work, but if you want a piece to last, the prep work has to be done and done well. Once that’s all over, though, it’s time to break out the paint. The type of paint you use is totally up to you, but chalk paint is making its sweep in the world and for good reason.
Chalk paint is easy to use and can even be made at home with a few simple ingredients. For Fall, stick to warm hues or those with a golden tone. Apply a thin, even coat as a base. Wait for the first coat to dry and repeat until you’ve reached the desired finish.
Step Four: Apply Wax
That beautiful bench is now glistening with a fresh coat of paint. To keep it looking brand new for years to come, put a finishing coat of wax or polyurethane over the dried paint. If you think you’ll be painting your bench again soon (maybe Spring?), this step may be unnecessary. It’s most useful to apply the wax with a brush and wipe off the excess with a clean piece of cheesecloth. Allow the wax to dry before moving on to the next step.
Step Five: Reupholster the Cushion
If your bench has a cushion on it, you can easily swap out the fabric for something a little more reminiscent of the fall months. Golden hues go well with pumpkins, right? Take off the cushion and remove any layers of fabric from previous recovering’s. Leave the original. Use any layer scrap as a template for your new cushion.
Once the fabric has been cut, center the cushion over the new fabric rectangle. Cover the edges of the cushion by pulling the fabric tight on the underside of the cushion and stapling. Repeat until the fabric is no longer puckering and loose and is tightly adhered to the cushion. Turn upright and assemble your bench!
Step Six: Add Throw Pillows
The final touch is upon us: add throw pillows. Throw pillows are not only great for cushioning bums, but, by golly, they’re cute! Be inspired with seasonal throws to finish the look.
The great part about furniture is how versatile it is. Seasons change, trends change, and alongside it, furniture does, as well. Give your bench a new look for fall with a few, small modifications. A new coat of paint and a few new throw pillows can give your furniture that cozy feeling everyone loves in the fall months.
Author Bio:

The Drifter Collective: An eclectic lifestyle blog that expresses various forms of style through the influence of culture and the world around us.
https://twitter.com/kacey_mya
https://www.instagram.com/thedriftercollective/


